Thursday, April 26, 2012

Girls Room {REVEAL!}

Thanks for visiting the girls' room today! Let's take a look. Drumroll please....
 Ta-dahh!!!
 The paint color is Best Wishes by True Value.
 Almost everything you see has been home-made. It was a labor of love, a process. And we love how it turned out. Thanks to my mom who made the bedspreads, the quilts, and the valance. Thanks to my friend Amy who made the pillows. I made the curtains from the sheet we cut the valance from and fabric I had on hand. The "sunshine" plaque is from Hobby Lobby with my 40% off coupon. It is one of me and my girl's favorite songs to sing together :)
 This fabric, On Parade from the Children at Play line by Sarah Jane was part of the inspiration for this room. (The doll was made by my mom when I was little). The pillow case and matching sheets were floor model items from Pottery Barn Kids I scored for $13!
 The other major inspiration was my CUTE SWEET GIRLS and their LOVELY personalities! I think this is very important when decorating and designing anyone's living space no matter their age!
 These letters have hung on their walls forever, from Walmart. I updated them with white paint and some scrapbook paper mod-podged on them. I let the girls tell me which papers they wanted. Then me and my husband (thanks honey!) drilled holes through the sides so I could string them up.
 This dresser was a lovely hand me down. The canopy, turned "Book Nook" was a happy accident. I had started making these canopies in the last house because the beds were side by side. The girls saw them in a PBkids catalog and told me they loved them. At $100-$200 bucks a piece, I figured out how to make this one for less than $10 with a canopy off ebay and some felt on sale at Joann's. We decided to stack the beds so they had lots of great room to play! This is the flower one that was already made and ready to go so I hung it, threw some pillows on the floor and called it the Book Nook. They love it!
 This antique milk glass lamp was in my room growing up. (I think it belonged to my grandfather?) I recovered the shade with thick white fabric then cut and mod podged my On Parade fabric.


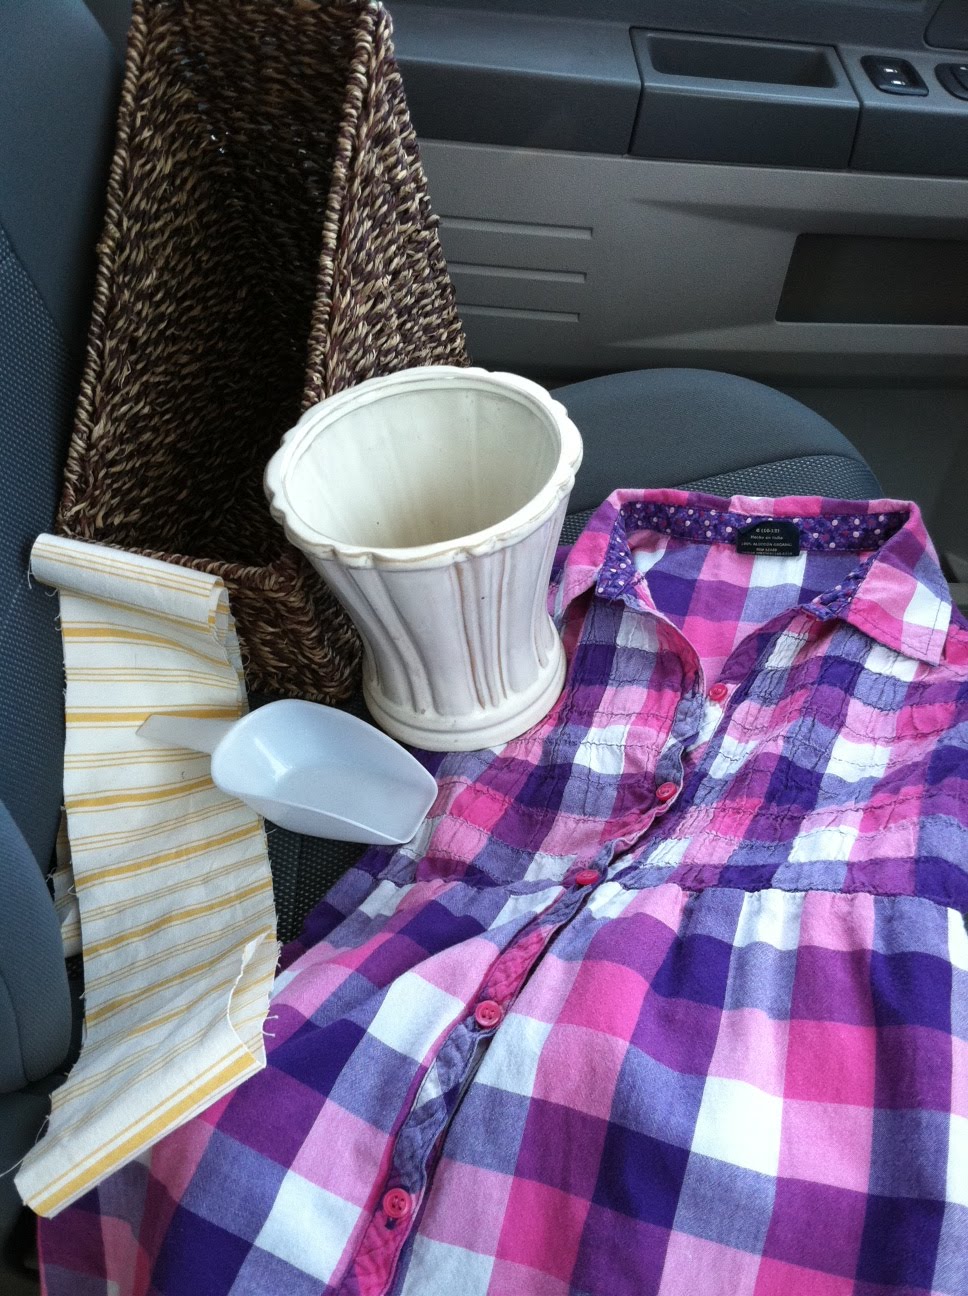
 A long time ago I found this beautiful quality sheet at a garage sale. I knew I wanted to use it for the girls eventually. My mom and I decided to cut the edge for the valance. Then I took the rest and cut curtains and lined them with some thick neutral colored upholstery fabric I had on hand in hopes to block out the light in the wee morning hours. I think it worked!
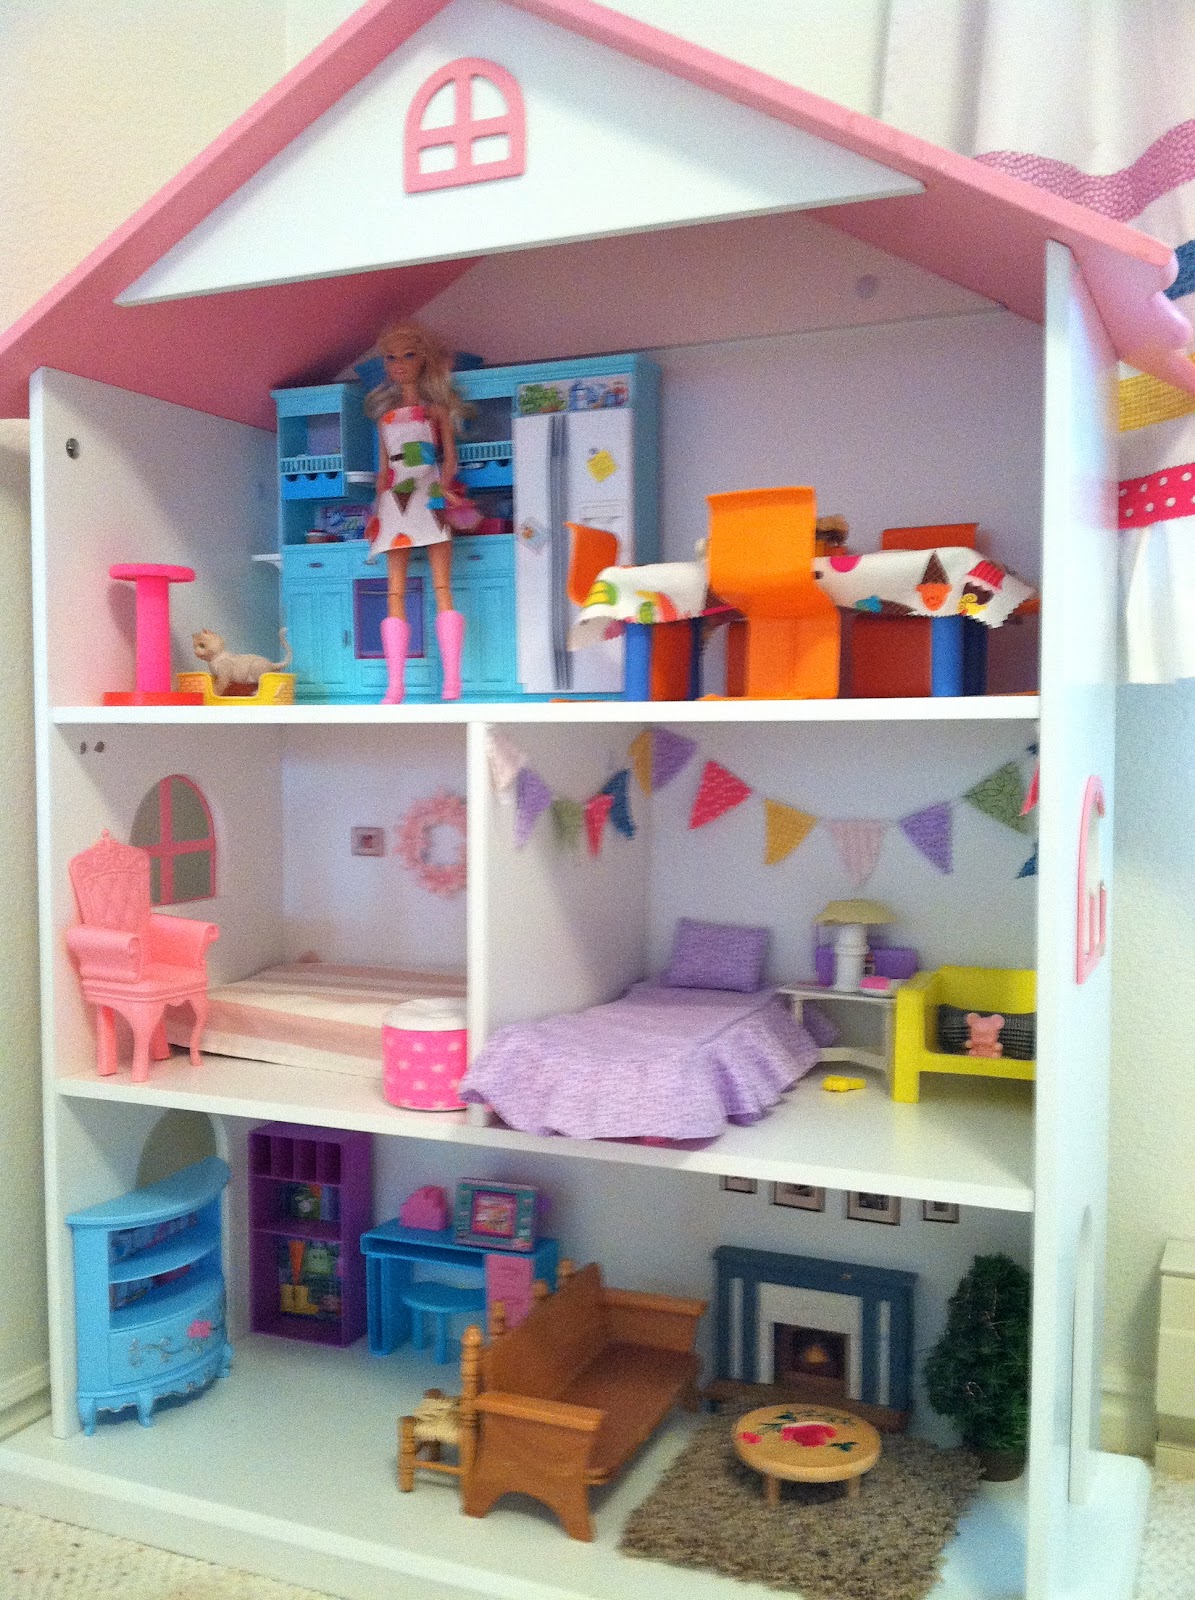
 Remember this lovely from Christmas? It's holding up well and I'm so pleased that they play with it ALL THE TIME, since it's not in a cold, dark basement anymore! See the little fabric pendant in the bedroom? That was another little inspiration. I just loved it and all the fun colors.
 Here is their table and chairs that I am hoping to replace soon with some big girl desks. That ribbon with clips is one of my greatest inventions for almost no money. I highly recommend it if you have little artists like me! Each child has 5 wooden clips and it forces them to clean out regularly because they can't have any more papers than they have clips. It works awesomely. (Is that a word?)


 The "gallery wall" was all done by me. I made the faux canvas with the On Parade fabric, a glue gun, and an old picture frame box. The birdie was the very first inspiration for this room about 2 years ago. It came in a scrapbook pack and I cut it and put it in a thrift store frame spray painted Krylon's Watermelon.

 I made this sillouette of the girls about 3-4 years ago after I saw one in a PBkids catalog. Sprayed this thrift store frame like the other one and mod podge fun polka dot scrapbook paper on the mat. The rainbow felt flower frame next to it I won on a blog giveaway! 
 This is what it looks like on your way out of the room. I got the polka dot wastebin from PBteen on major clearance. The little shelf belonged to my mom and hung in my room when I was little.
 Here is the inside of their "somewhat organized" closet. We have an Ikea expedit shelf unit for their toys and books. And I highly recommend getting this Closet Space Expander for $10 from Walmart to double the space and make for "no excuses!" for the kiddos to hang up their own clothes when they can reach the bar and hangers!
 I love this little shelf. I try to keep the knick-knacks to a minimum and this is the perfect little spot, that holds a lot of meaning. The back of this shelf had a great antique mirror that broke a couple moves ago (sad). I replaced it with scrapbook paper covered cardboard and a little hot glue. 

 Thanks for checking out the Girls' room! We love it so much! 
Just to re-cap,

HERE IS THE BEFORE:

AND THE AFTER!!!
I hope you enjoyed this post! Please leave a comment to let me know you stopped by. What is your favorite feature of the Girls' Room? Did this inspire you? I'll be on a blog vacation for a bit, so enjoy all this eye candy! Have a great weekend! ~ Rebecca

linking to :http://thriftydecorchick.blogspot.com/2012/05/show-us-your-kids-rooms.html

Tuesday, April 24, 2012

Girl's Room: the hold up.

Sewing curtains BY HAND because machine broke and I live in a rural town with no repair shop. This is the last project and I want to get it done before I show you the room. I am going out of town this weekend and I am determined to finish before then. Must. Get. This. Done.
Don't give up on me, I promise it's worth the wait, it's gonna be ca-yute!!!

Wednesday, April 18, 2012

Easy Homemade Paper Flag Banner Garland {no cost}

I promise I am not teasing you about the girl's room - I will post pictures soon! I just have a few more projects to finish up and I don't want to put up pictures until it's ALL done.

In the meantime, here is a fun, quick, easy project anyone can do!

I whipped this up in a half hour. For this project you will need: scrapbook paper, yarn, a stapler, scissors, ruler, pencil, and homemade template.
To save paper and time, I figured the easiest way was to cut the paper in half so you have 6" x 12" pieces. I wasnt sure how many papers I would need to cover the length so I attatched them first, then cut the triangle out of the bottom.
I attatched them by simply folding the paper over the yarn (I eyed it) and stapling 3 times across the fold.
Then I made a 6" x 12" template from recycled cardboard that came in the scrapbook package and using a ruler and pencil made a triangle on the bottom and cut it out. I then traced this onto each flag and cut them out. I tacked them to the walls with tacs and it was perfect! I love how it will be able to be used again and again!

Thursday, April 12, 2012

4/7/12 Yard Sale Finds

For two dollars I picked up a wide rattan - type magazine holder, a scrap of cute yellow striped fabric, a multi-purpose use scoop, a great ceramic vase/pot, and an adorable girl's plaid spring dress!
I'm sure you'll see this vase around the house decor soon.
Just goes to show you can get fun and useful things for little $.
Been to any great garage sales lately?

Sunday, April 8, 2012

Pinned and tried: Hard cooked eggs

According to this pin, if you cook eggs on the rack in the oven at 325 degrees 30 minutes, it makes for the creamiest hard cooked eggs and is Alton Brown's preferred method.
There were four problems with this: the grill in my oven was barely the right size to hold the eggs, in fact one of the very last ones I put on slid through and luckily I picked it up fast enough that only a little bit of cracked egg spilt all over and I was able to wipe it up quickly.
Second, it was tricky not only carefully setting them on the hot grill, but trying to figure out how to pick up the hot eggs as well. (I used a folded over dish towel and worked quicklu but carefully!)
Third, while the yolks were indeed the creamiest I'd had for hard cooked eggs, the outsides if the whites were rubbery. Hubby was not a fan.
Fourth: when I hard boil eggs, I add vinegar to the water which makes for easier peeling. With this method you obviously cant do that. It must have taken me at least 20 minutes to peel off tiny bit by tiny bit of shell off 18 eggs. I was going crazy!
Result: fail. It's back to hard boiled eggs for us.
Have you ever tried this? Did it work for you?

Saturday, April 7, 2012

Easter Decor 2012 {part 2}

Welcome back!
Moving on through the living room is my awesome Pottery Barn mantle shelf that I got at a garage sale for 5 bucks!!! I've had this for 2 years and I finally got to hang it. I had originally bought it to go in baby boy's room, but now that I have no fireplace = no mantle, we hung our own! This I just threw together with the decorations. I wish I had a cute boxwood garland or something but I just threw up the rest of my Goodwill nests instead and we'll call it good. I poured a bunch of pale colored plastic eggs I had on hand into one of my glass hurricanes and finally quickly painted my PB look-alike terra cotta bunny which I blogged about earlier this week. The little chickies are vintage and were passed down to me.
Moving onto the kitchen is my china hutch. I have a plate for each holiday that I display. And here is also my deal of the month with my Pottery Barn Kids Easter glitter garland that just came in the mail - $3.75 total including shipping and tax! Go get yourself one if there's any left! I really wanted to make one myself (it would be so easy but time consuming with tracing shapes, cutting, glittering and sewing) but since I just moved and had no time and it was so cheap, I went ahead and bought that one thing this year.
That's the Easter Decor tour! I hope you enjoyed it and more importantly, enjoy your Easter holiday.
- Rebecca

Friday, April 6, 2012

Easter Decor 2012 {part 1}

Welcome to my new home! Here is a peek inside at my humble little Easter decorations. This year is all about using what I have and trying to throw it together while still unpacking boxes!
At the front door you might recognize my house-warming present to myself at the last home which I showed you how to make here {http://rebeccasroundup.blogspot.com/2011/08/hydrangea-housewarming-wreath-from.html?m=0}.
I'm still keeping up with my homemade Welcome Sign by switching out the ribbons each month which I blogged about here {http://rebeccasroundup.blogspot.com/2012/01/welcome-to-2012-no-cost-welcome-sign.html?m=0}
The vinyl tile was made by my lovely SIL with an entire set of cute tiles for the year. I'm excited to finally have the perfect place to display it on the entry console table. The country bunny and tree were a garage sale steals and the nest and greenery were cheap from Goodwill. A few nights ago I threw together the little egg ornaments using my girls stickers(!), a round paper punch, some ribbon scraps, and tape. {no cost!} My first thought was to buy some tree eggs on ebay but at this late in the game and not wanting to spend money, the wheels turned until I came up with this 'good enough' for now solution.
Across from the front door when you walk in you'll see the piano which I topped with a runner from Ikea and hung my mirror over as a lovely place for seasonal decor. Here I have my favorite garage sale topiaries {http://rebeccasroundup.blogspot.com/2011/05/my-2011-spring-style-setting.html?m=0}, my dollar store bird {http://rebeccasroundup.blogspot.com/2011/06/goodwill-dresser-and-dollar-store-bird.html?m=0}, my spring blocks I made last month {http://rebeccasroundup.blogspot.com/2012/03/spring-blocks-part-two-of-reversible.html?m=0}, and a garale sale Easter egg wreath. I got it last year right after Easter and it's so fun to finally put it up!
Then are my faux tulips I love. They just say Spring to me.
I hope you enjoyed part one of this post! Check back tomorrow to see the rest :)